Seeing Eye Dog Day, International Hoof Care Week
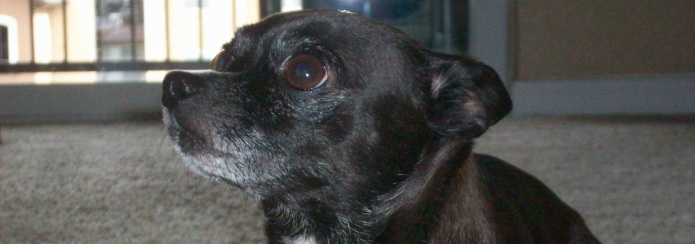
Odie is not officially a seeing eye dog, but he is a service dog! He is our emotional support! So, there's my shout out to Seeing Eye Dogs, but the main event is hoof care week! Thanks to Charli from Total Beauty gave this set-by-step tutorial to The Best DIY Pedicure Tips!
Step 1: Gather Materials
Choose a comfortable area of your home that's near a faucet (the bathroom's a great place for the first couple steps) and gather the following items for easy access:
• Nail polish remover • A large bowl or foot bath filled with water and bubble bath
• Cuticle oil • Exfoliating foot scrub • A bath towel • A hand towel • A foot callus file
• Nail clipper • A fine grit nail file • Foot lotion • Cotton pads • Base coat
Step 2: Remove Polish
If you have any leftover polish, use mild acetone polish remover and a cotton pad to remove it. "Acetone remover is not damaging to nails [and] cuts through pigment faster than non-acetone remover, which can leave traces of pigment on nails that can lead to discoloration over time," says nail-pro Roxanne Valinoti.
Tip: Have dark polish stains? "Orly Cutique gently removes dead skin tissue from cuticles, making them soft and pliable. It also removes stains from nails and is great for pedicures," says Jenna Hipp.
Step 3: Soak
"Make an at-home pedicure more relaxing by soaking your feet in a large bowl with bubble bath for 10 or so minutes before you get working," says celeb-trusted Nicole Dihn. "Read a magazine or listen to music and just relax." Before you fill your foot bath or large bowl with water, make sure to put a bath towel underneath it to catch any spills or debris from your pedicure.
Tip: Add epsom salt to your foot bath to soothe tired feet and help reduce any swelling at the end of a long day.
Step 4: Treat Cuticles
Pull one foot from the foot bath and put drop cuticle oil on each nail. Massage it in and glide a wooden cuticle stick around the nail to push back any dead skin that might be clinging to the nail plate. Switch feet, submerging your first foot back into the water, and repeat!
Pull one foot from the foot bath and put drop cuticle oil on each nail. Massage it in and glide a wooden cuticle stick around the nail to push back any dead skin that might be clinging to the nail plate. Switch feet, submerging your first foot back into the water, and repeat!
Step 5: Exfoliate
Pull your first foot out of the foot bath and wet your leg up to your knee. Using a granular foot scrub, gently massage along the bottoms of your feet up to the knee. "Concentrate pressure where there is a callus or dry skin build-up," says nail pro Valinoti. Rinse thoroughly and repeat with other leg.
Tip: If you desire, dampen a clean towel and warm in the microwave for 15 to 20 seconds, then use it to help rinse your feet. Aaaaah. . .
Step 6: Smooth Skin
Gently glide a callus smoother or very coarse nail file over calluses to smooth (not remove) rough, dry areas on the bottoms and sides of feet and toes. Put feet back in foot bath to rinse.
Step 7: Hydrate
Remove one foot from foot bath and pat dry with a hand towel. For a relaxing, cooling sensation that will soothe feet and make them tingle for at least an hour, combine a few drops of peppermint oil with a foot lotion or rich cream and massage into legs and feet.
Tip: For more intense moisturizing, do a mask first. After removing your first foot from the foot bath, spread an even coat of clay foot mask on your foot and ankle. Wrap with plastic wrap, then a terry cloth towel. Repeat on your other foot. Wait three to five minutes, rinse thoroughly. Then massage feet with lotion as suggested above.
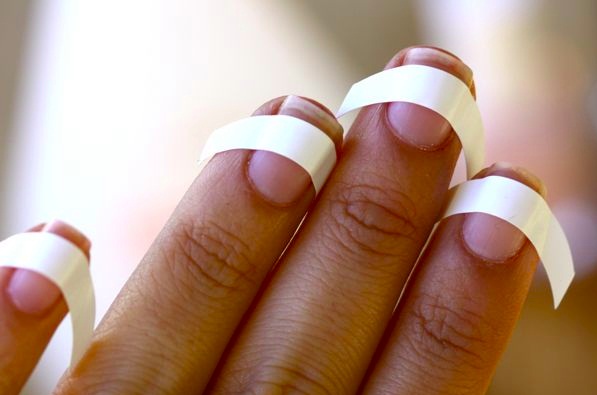
Step 8: Prepare Nails
Use a disinfected, curved toenail trimmer to cut the corner of each nail at a 45-degree angle to help prevent ingrown nails. Next cut any nails that are too long straight across. Finish by shaping nails with a fine (around 240 grit) flat file or glass file to smooth uneven edges and corners. Double-check for any remaining cuticle that might be stuck to the nail and file it smooth. Swipe all nails with polish remover to get rid of residual oils and extend the life of your polish. Weave toe separators between toes.
Remove one foot from foot bath and pat dry with a hand towel. For a relaxing, cooling sensation that will soothe feet and make them tingle for at least an hour, combine a few drops of peppermint oil with a foot lotion or rich cream and massage into legs and feet.
Tip: For more intense moisturizing, do a mask first. After removing your first foot from the foot bath, spread an even coat of clay foot mask on your foot and ankle. Wrap with plastic wrap, then a terry cloth towel. Repeat on your other foot. Wait three to five minutes, rinse thoroughly. Then massage feet with lotion as suggested above.
Step 8: Prepare Nails
Use a disinfected, curved toenail trimmer to cut the corner of each nail at a 45-degree angle to help prevent ingrown nails. Next cut any nails that are too long straight across. Finish by shaping nails with a fine (around 240 grit) flat file or glass file to smooth uneven edges and corners. Double-check for any remaining cuticle that might be stuck to the nail and file it smooth. Swipe all nails with polish remover to get rid of residual oils and extend the life of your polish. Weave toe separators between toes.
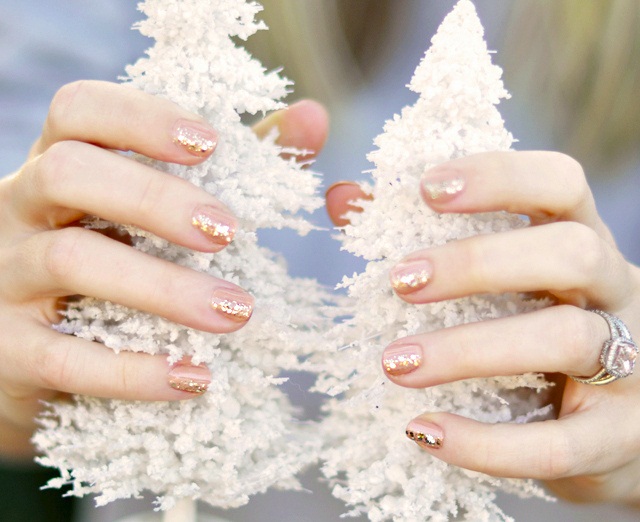
Step 9: Apply Polish
Apply one thin layer of base coat, followed by two thin coats of nail enamel in your chosen color and one final thin layer of shiny top coat. Let each coat dry for about two minutes between applications. "Fix any polish mistakes by dipping a short, stiff paint brush in nail polish remover. Just glide it along the edges of your nails to clean up the paint," says Dihn.
Tip: Avoid air bubbles in your painted nails by storing polish in a cool, dry place and rolling bottles between palms, not shaking them, before applying. Wait until nails are fully dry before you clean up your workspace, and wait at least two hours before putting on close-toed shoes.
Step 10: Make it Last
To make your pedicure last longer, always use a base coat and top coat, and apply a fresh coat of clear polish every three days. Do this right after hitting the beach to make polish dulled by sand look fresh again. Keep polish and cuticles well-oiled with a purse-sized cuticle oil.
Click on the link above for product suggestions to go along with the tutorial! Thanks a ton! Looking forward to caring for these hooves!
Happy nailing it! I mean, um, yeah.
XO
XO
 RSS Feed